Google Photos is a relatively secure platform. If users want to add an extra layer of protection, they can set up a locked folder in Google Photos that will protect their private images and videos. We have created a comprehensive guide that describes the process of setting up a locked folder and added certain notes to keep in mind.
What does a Locked Folder in Google Photos do?
The Google Photos app allows users to save private photos and videos in a locked folder that is protected by the device’s screen lock. The locked folder feature is only available in the mobile app of Google Photos. Media in the locked folder will not be shown in the albums, photos grid, search, memories, or albums. These locked items will also not be available on other devices that have access to Google Photos account. The media will be exclusively available on Google Photos App on the device.
What is the Difference between Archive and Locked folder Feature?
The Archive feature and the locked folder feature are not the same. When users search in Google Photos, they can still find archived photos and videos. On the other hand, locked media will is not visible in Search.
How to Setup a Locked Folder in Google Photos?
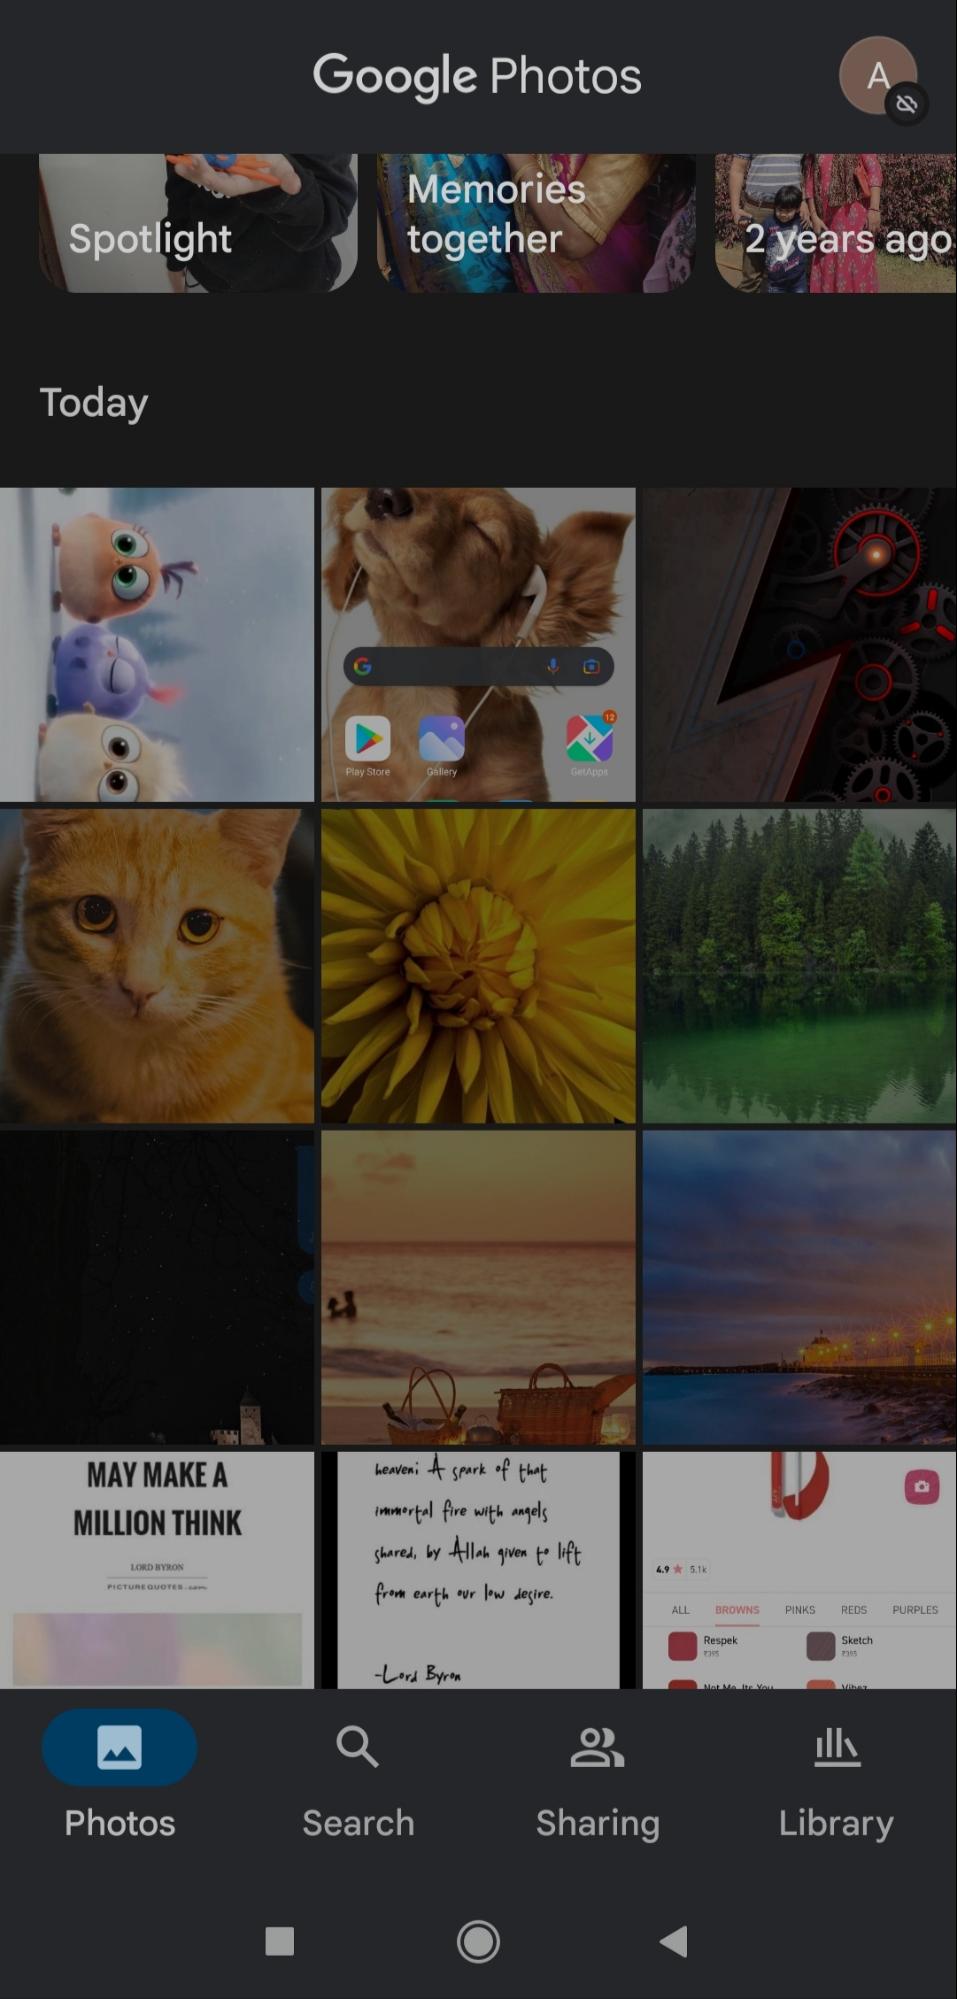
Now we finally come to the steps to set up a locked folder in Google Photos. Users will have to set up a locked folder only once after which they can keep adding or deleting the media in it. Step 1: Go to the Google Photos app.
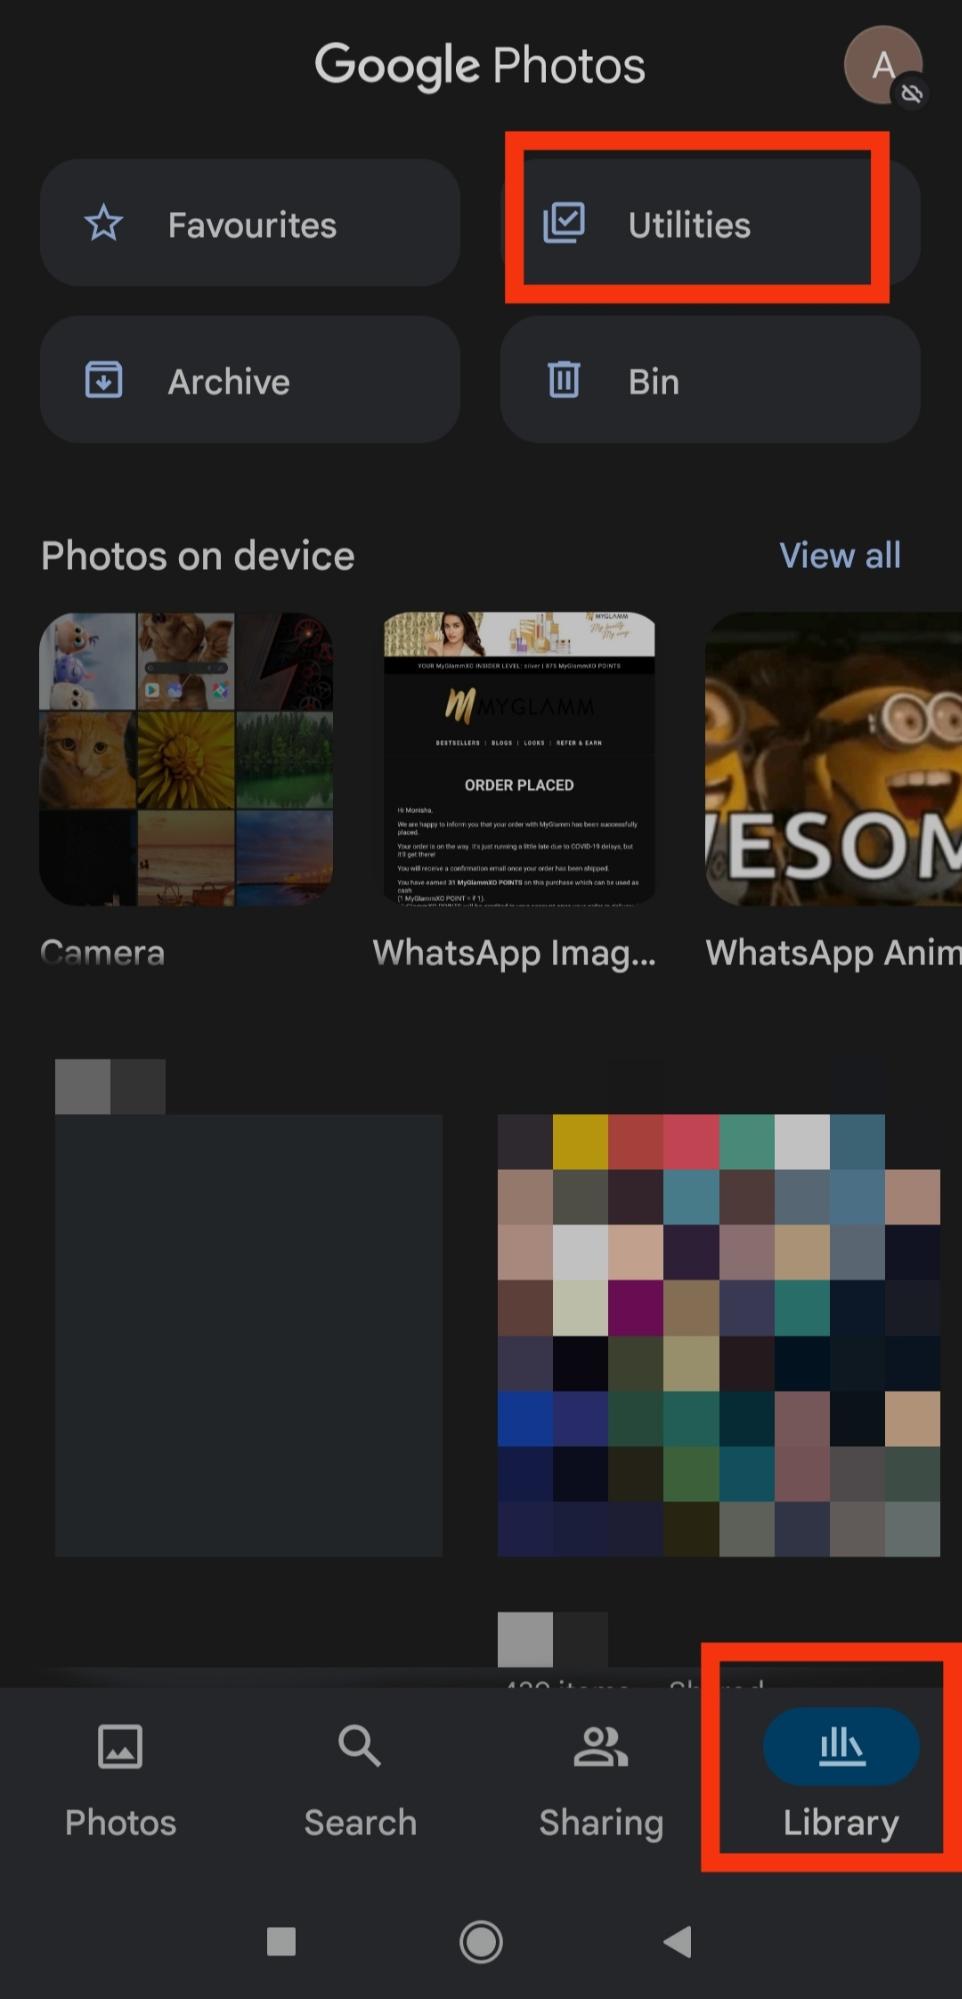
Step 2: Tap on ‘Library‘ and ‘Utilities’ and then tap on ‘Locked Folder’.
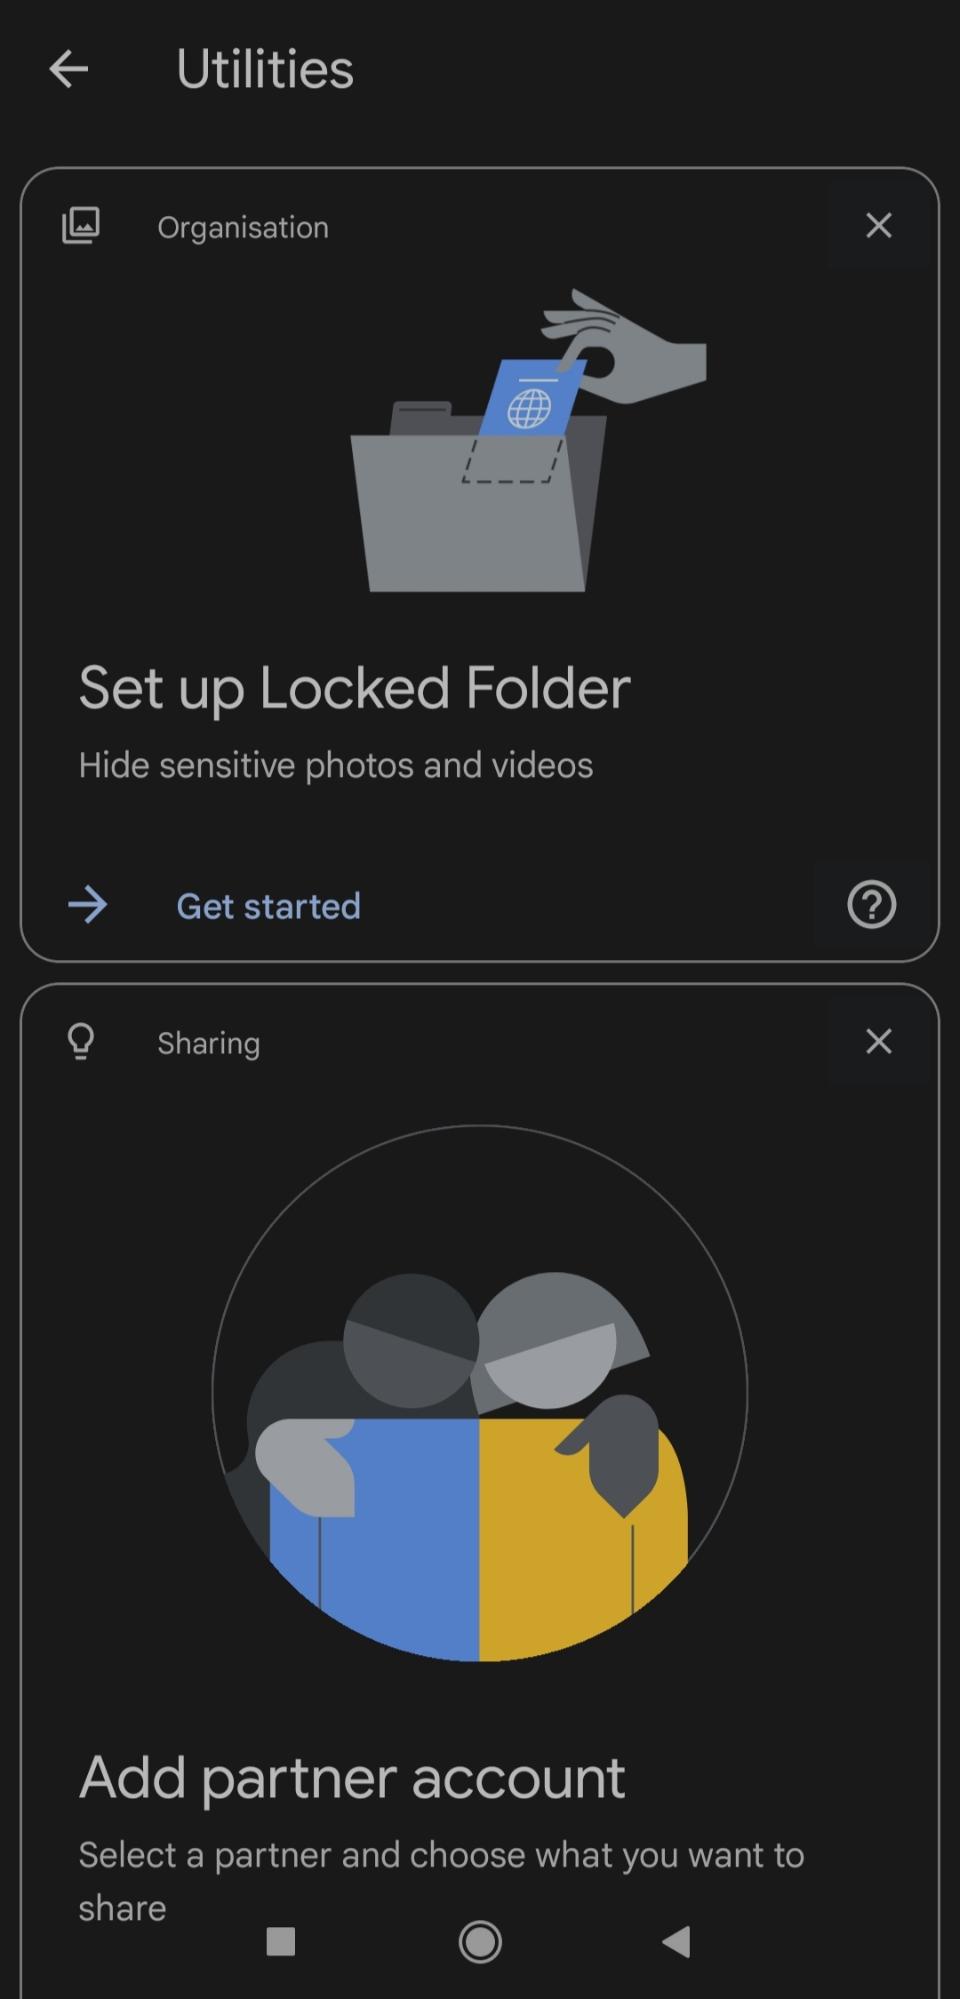
Step 3: Next, tap on ‘Set up locked folder‘ to begin the setup process.
Step 4: The app will give you instructions asking you to set up the folder.
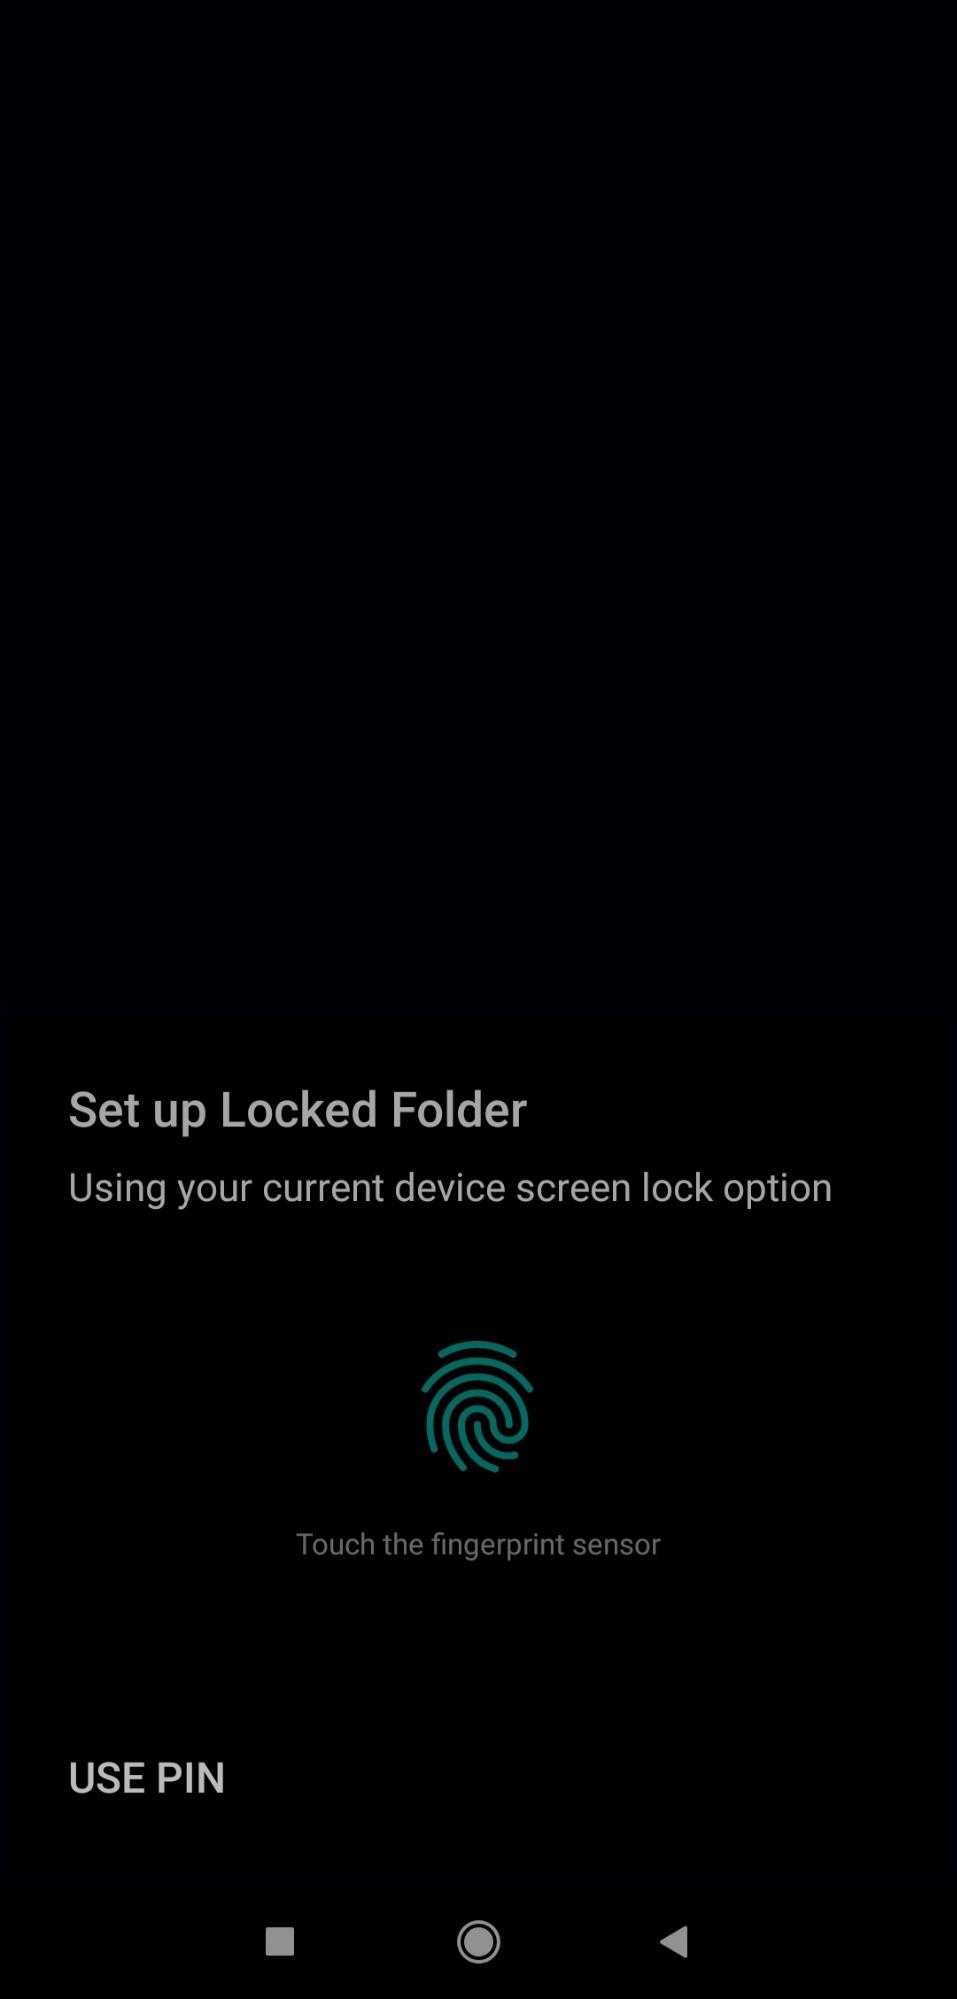
A screen lock is a must for using the locked folder feature. You can either use the fingerprint sensor or use a pin.
The setup process will be then complete.
How to Move Photos and Videos to the Locked Folder?
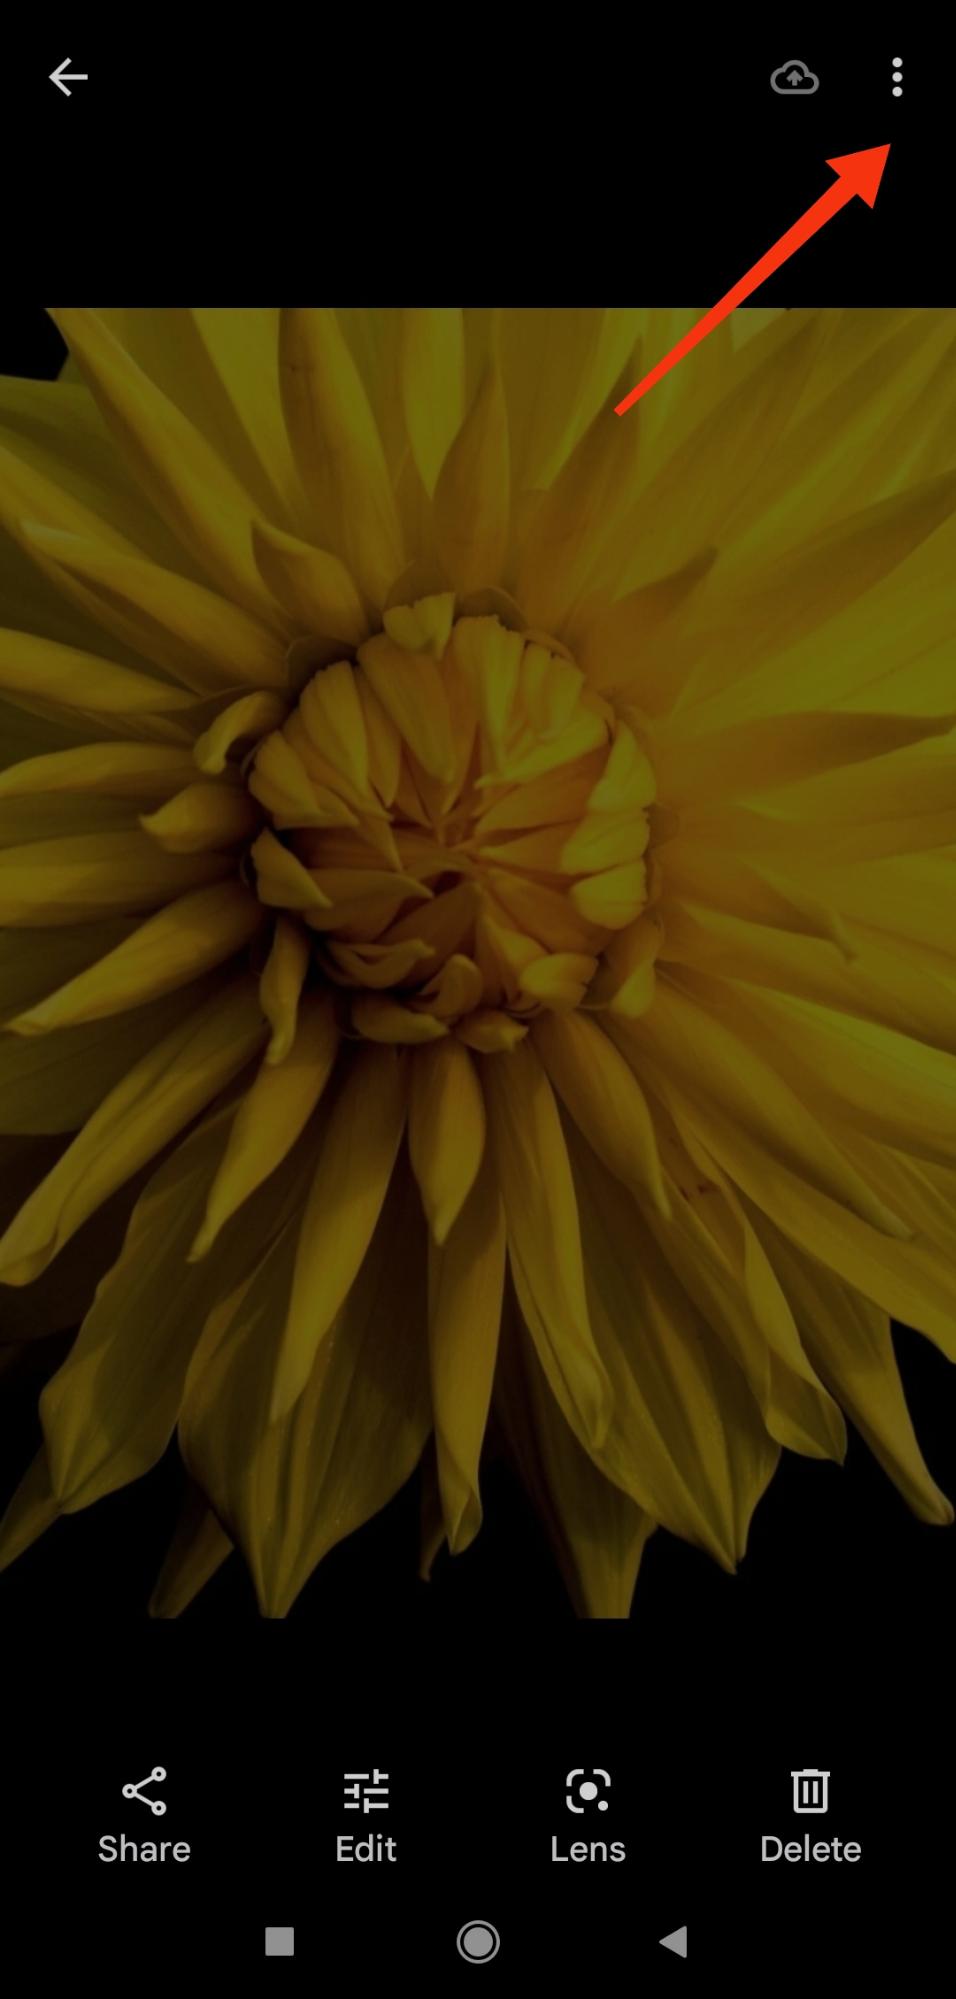
Moving photos and video to the locked folder is just as easy as setting it up. Please note that moving these items will delete the backups of these items. Step 1: Find the photo/video you want to move to the locked folder. Step 2: Tap on the More menu located at the top right of the picture. Three vertical dots represent this menu.
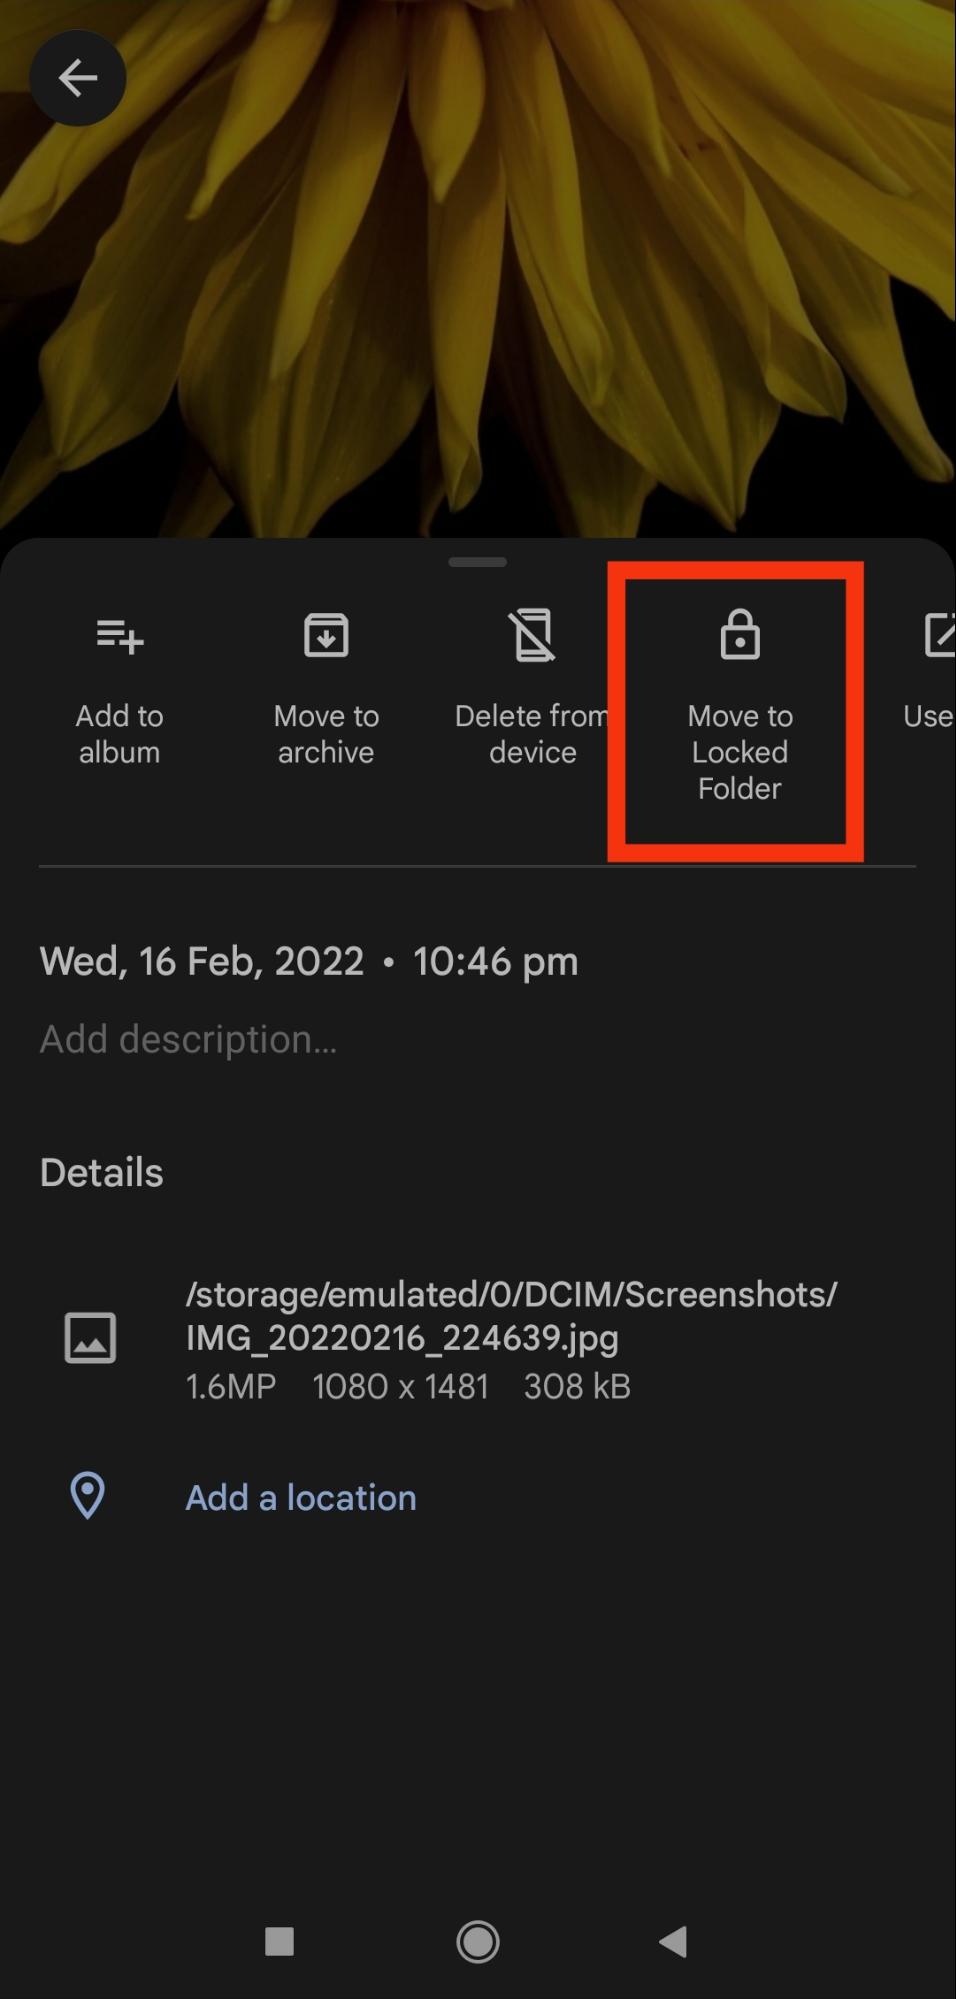
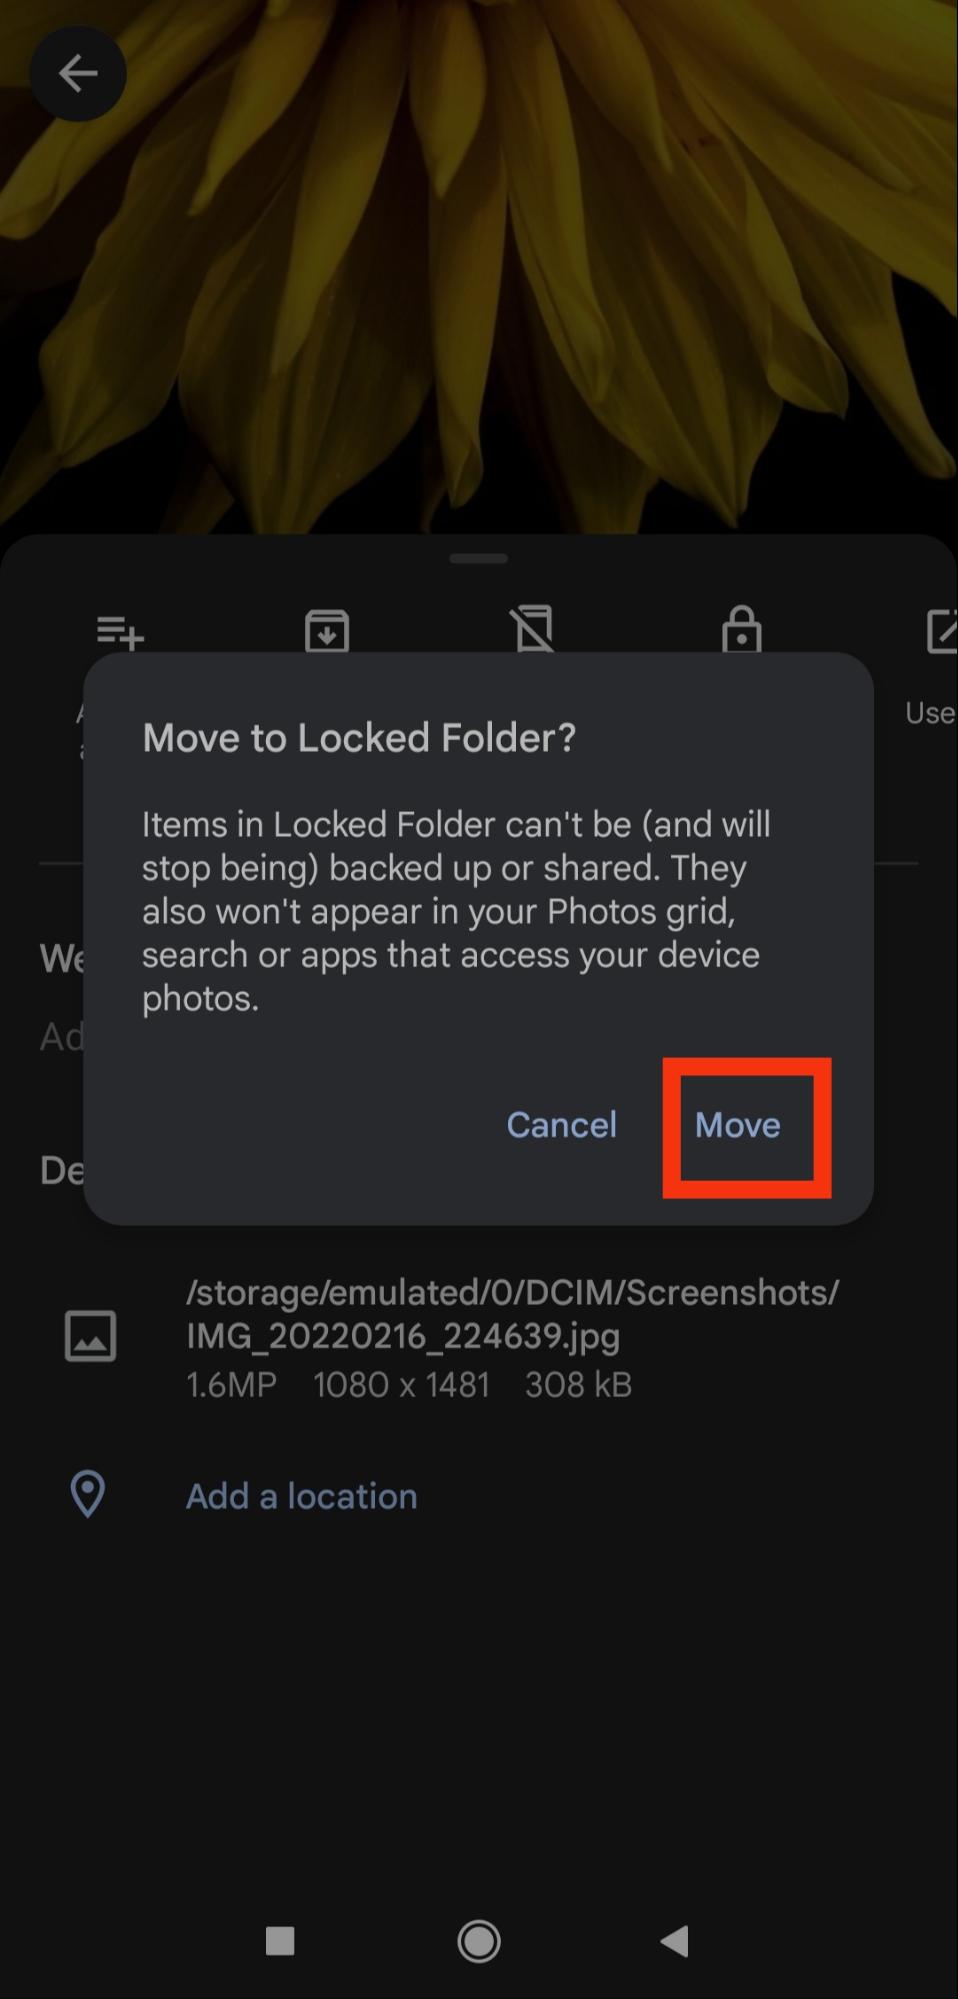
Step 3: After tapping on ‘More‘ tap on ‘Move to Locked folder‘. Next tap on ‘Move’. The image will then be moved to the locked folder.
Things to Remember
There are certain things you should keep in mind when you wish to set up a locked folder in Google Photos.
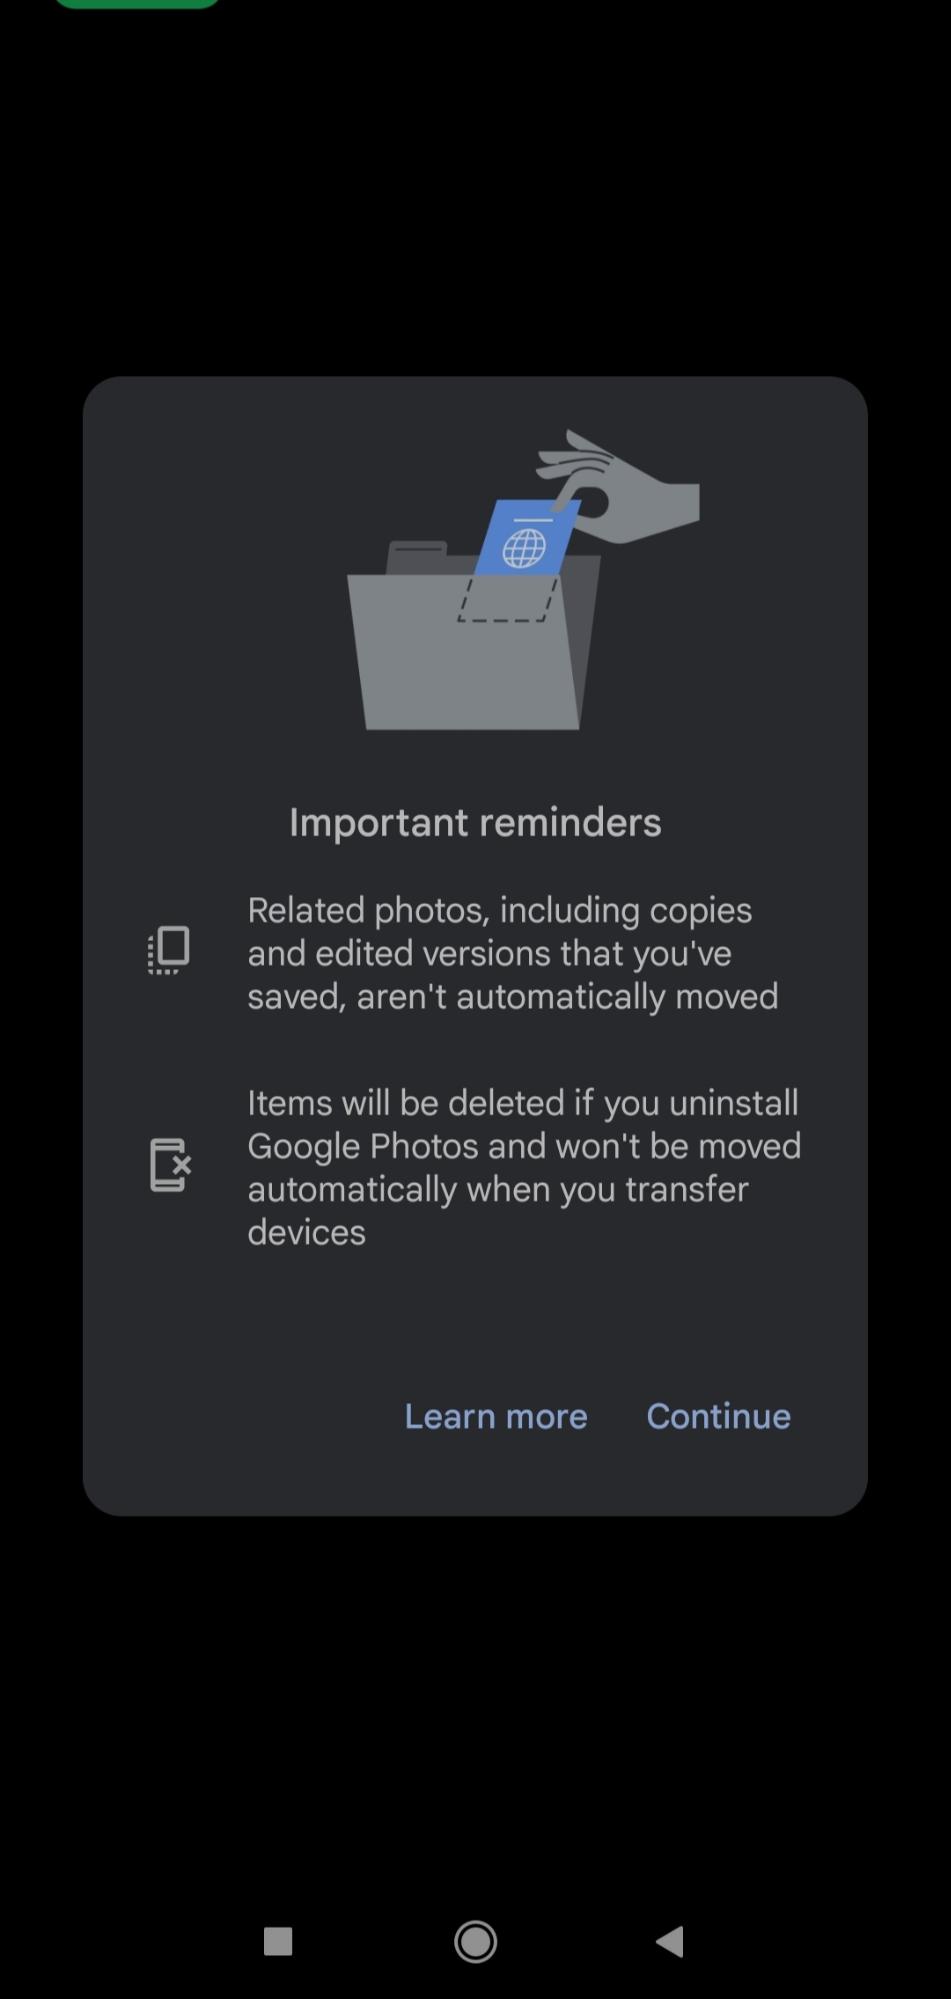
The Locked folder feature is not available on all devices. Only Android 6 and above devices have this feature.All things in the Locked Folder will be lost if the user uninstalls the Photos app or erases the Photos app data.Users can only view, or delete the items in the locked folder.Users cannot add locked media in an album, edit them, share them or back them up.Items in your Locked Folder that are saved to your device are not moved to other devices during cable or cloud data transfers.
Conclusion
Protecting your private photos is easy on Google Photos. Using a locked folder, safeguard your photos and keep them away from others. Try setting up a locked folder in Google Photos using the given steps and let us know if you found it easy!
